There are usually three layers to each bag ‘body’ — the exterior fabric, the interfacing and the stabiliser”
A bag is only as good as the fabrics you use, and that includes the base materials which give it structure, durability and form. The foundation materials used in making bags are interfacing and stabiliser. Interfacing strengthens fabric while stabiliser gives a more defined ‘robust’ shape.
Base materials and piece preparation
Base materials prevent your bag from sagging or flopping, and stop the fabric from stretching, especially round the top or on pockets. There are many options for both and I wish I could give you a ‘one size fits all’ pairing of interfacing and stabiliser, but it is a case of picking the right combination for the fabric you are using, and the style of the bag you are making. This blog is to give a snapshot of the types and methods I use in my bag making. Being UK based, I use Vilene (rebranded Vlieseline) products but I have written the nearest US Pellon equivalent of each in brackets.
Basically, there are usually three layers to each bag ‘body’ — the exterior fabric, the interfacing and the stabiliser. The order of assembly is as in the diagram below —exterior fabric on top, interfacing in the middle of the sandwich then stabiliser on the back. Both interfacing and stabiliser can be iron-on or sew-in. Which you use is governed by the type/weight of fabric, the type of bag you’re making, the finish you want to achieve—and personal preference. The order is always the same. Interfacing and stabiliser should be stitched or fused to the relevant fabric pieces before assembling the bag. The first thing to do is decide on whether you are using fusible or sew-in.

Interfacing/stabiliser types and pairings
Iron-on or fusible interfacing has dots of glue on it and this can be adhered to your fabric by placing the ‘glue’ side down on the wrong side of the fabric and ironing on the reverse of the interfacing. I use fusible interfacing on most exterior pieces including all pockets, flap backs and straps, and on the bodies of bags when I’m using with a fleece or foam stabiliser.
The all-purpose standard firm weight fusible that I favour in my workshop is Vilene H250 (Pellon 809 Décor Bond), which has a ‘papery’ feel. Some people prefer Vilene F220 non-woven (Pellon equivalent ES114 Easy Shape) which is lighter weight. With the latter, I sometimes use a double layer and I use it on bag linings where needed. Decovil light is another fusible interfacing, which has a very different ‘leathery ‘feel to it. I use it sometimes on bag bodies and flaps. Just cut it slightly smaller than the main bag pieces so there is not too much in the seams. Some people find it difficult to sew, or ‘turn’ the bag right side out, but I have never had a problem with it.
Sew-in interfacing comes in similar weights to fusible but has no adhesive side so has to be stitched to your fabric, before you start to assemble your bag. I fuse a very thick craft weight sew-in interfacing on my bigger bags – Vilene S80/240 (Pellon Peltex 70) – which is also used for pelmets or craft projects. Some people find this stiff to manoeuvre or stitch through, but I use it for structured bags and only ever stitch them with a domestic sewing machine.

Stabilisers
Stabilisers can be fleece, which is soft and squidgy and adds ‘bulk’ or padding without stiffness, or foam which gives sturdiness, bulk and padding to a bag. This all helps to retain a ‘3D’ shape. Fleece is softer for a more casual look and is suitable for small/medium sized bags whereas foam will help to give a bigger bag shape and structure. As with interfacing, there are fusible and non-fusible brands. Fusibles are okay if ironed on to an already interfaced bag piece on small/medium sized bags but they can come ‘unstuck’ over time and in my experience need to be stitched into the side seams of the bag to ensure they stay in place. Fusibles include Vilene H640 fusible fleece (Pellon TP971F Fusible Thermolam) and Bosal In R Form (which also comes in sew-in variety).

Because I use a lot of ‘luxury’ tweed, I usually use a sew-in stabiliser. On small or medium sized bags I use a less ‘bulky’ sew-in stabiliser, Vilene 272 Thermolam batting, which is a compressed fleece and can be stitched into the seams without too much bulk. For an alternative on medium sized bags I use quilted calico or ordinary polar fleece fabric to give a bit of loftiness, which is wide and relatively cheap to buy. It can be stretchy so needs to be smoothed out well before stitching, and trimmed where necessary. On bigger bags I use a sew-in foam – mainly Vilene Style-Vil (Pellon FF77 Flex Foam Sew In Stabilizer).
Linings, fusible web and plastic canvas
Some lining fabrics can benefit from interfacing, particularly along the upper edges. Iron fusible interfacing such as Vilene F220 on to bag lining pieces (including interior pockets) before assembling the lining.
Fusible web is invaluable for fusing two layers of textile together. It usually comes with a paper backing which can be drawn on to and ironed over, to fuse it to the fabric. It is widely used for fusing applique to the front of bags and to make professional-looking fabric straps with nice crisp edges.
Plastic canvas is a durable plastic mesh for cross-stitch. I use it in my bags to cut out a ‘base’ rectangle to insert into the bottom of the bag where it needs to stand up or has a ‘gusset’. It makes the base hold its shape and prevents sagging. You could also use a fusible craft weight interfacing for the base but this must be ironed on before fully assembling the bag and can make it more difficult to manoeuvre the bag while assembling. I’ve always used a plastic canvas.
For medium/large sized or small bags
If you are making a medium sized bag that would benefit from a foam or fleece stabiliser, you can iron fusible interfacing to all of the bag pieces (body and flaps etc) first such as a Vilene F220 or H250 (if it’s a fabric that won’t show the creases), and use a sew-in foam such as Vilene Style-Vil. For the body pieces which need stabilising, you have a choice of fusible or sew-in. I prefer the sew-in versions.
If using a sew-in foam stabiliser with fusible interfacing, cut this the same size as the exterior piece and baste to the interfaced exterior fabric round entire outside edge (A), just inside the bag seam line (so if the bag seam will be 1/2” from the edge, do the basting line around 3/8” from the edge). Trim a little of the excess foam around the basting line to cut down on bulk in the seams when you stitch the bag together (B). Alternatively you can zig-zag stitch the foam to the interfaced exterior pieces around the entire outside edge to ‘squash’ the foam flat and again cut down on bulk in the seams (C). I tend not to do the zig-zag method!

If you are making a small or medium sized bag and don’t require a thick foam stabiliser, you can iron fusible interfacing to all of the bag pieces (body and flaps etc) first, and use polar fleece, sew-in compressed fleece such as Vilene 272 Thermolam batting or a fusible fleece such as Vilene H640 fusible fleece (Pellon TP971F Fusible Thermolam) for a stabiliser. If using fusible interfacing, iron this to all external pieces first. For the body pieces which need stabilising, you have a choice of fusible or sew-in. If using fusible fleece, trim by around 3/8” all round and then iron onto the reverse of the interfaced exterior fabric. The fleece will be included in the seams. If using a sew-in stabiliser with fusible interfacing, complete as above using the same method as for foam.
Interfacing much bigger bags
For big bags I use a slightly different method because I use a very heavy craft weight sew-in interfacing instead of a fusible on the main body pieces and the front of the flap.
1. Iron fusible interfacing to the exterior pockets pieces, flap back, and strap pieces (I use Vilene H250 for tweed).
2. For the bodies of big bags, I stitch the stabiliser to the sew-in interfacing before stitching the interfacing to the exterior fabric. Cut the stabiliser out using the same templates as the exterior fabric pieces, then trim about 1” (13mm) from around the entire edge. Next stitch the stabiliser centrally on top of the interfacing – stitch all round the outside edge just under ½” (12mm) from the raw edge. This way the foam will not be included in the bag seams which will eliminate bulk. For the large bag below, I used Vilene S80/240 interfacing and Style-Vil foam.
3. Stitch the sew-in interfacing, with stabiliser now attached, to the exterior fabric of the bag body. I would recommend using heavy sew-in interfacing on the flap front too, to strengthen it. Baste to exterior fabric all round the outside edge just under ½” (12mm) from the raw edge. Trim any excess bulk from inside the seam allowance.


Summary
So to summarise, for small or medium sized bags I would use fusible interfacing such as Vilene H250 (Pellon 809 Décor Bond) paired with a sew-in stabiliser such as Style-Vil foam (Pellon FF77 Flex Foam Sew In Stabilizer) for a more sturdy finish, or Vilene 272 Thermolam batting compressed fleece or similar for a less ‘lofty’ finish.
For a very big bag, I would use Vilene S80/240 (Pellon Peltex 70) or similar heavy weight sew-in interfacing with Style-Vil (Pellon FF77 Flex Foam Sew In Stabilizer) or Vilene 272 Thermolam batting assembled as above.
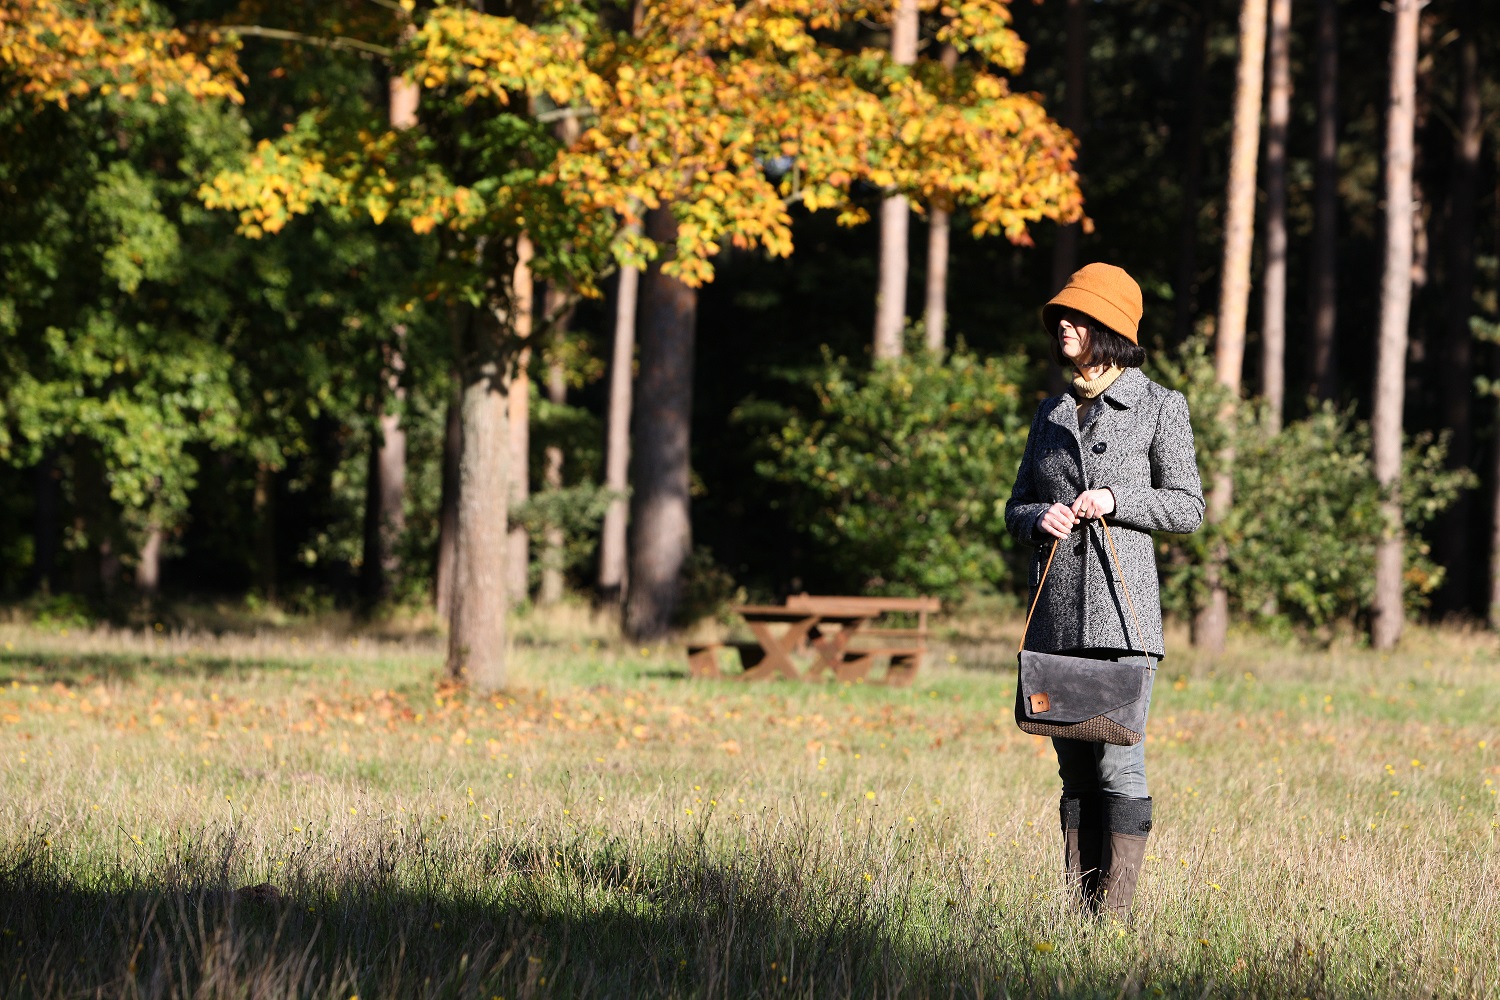
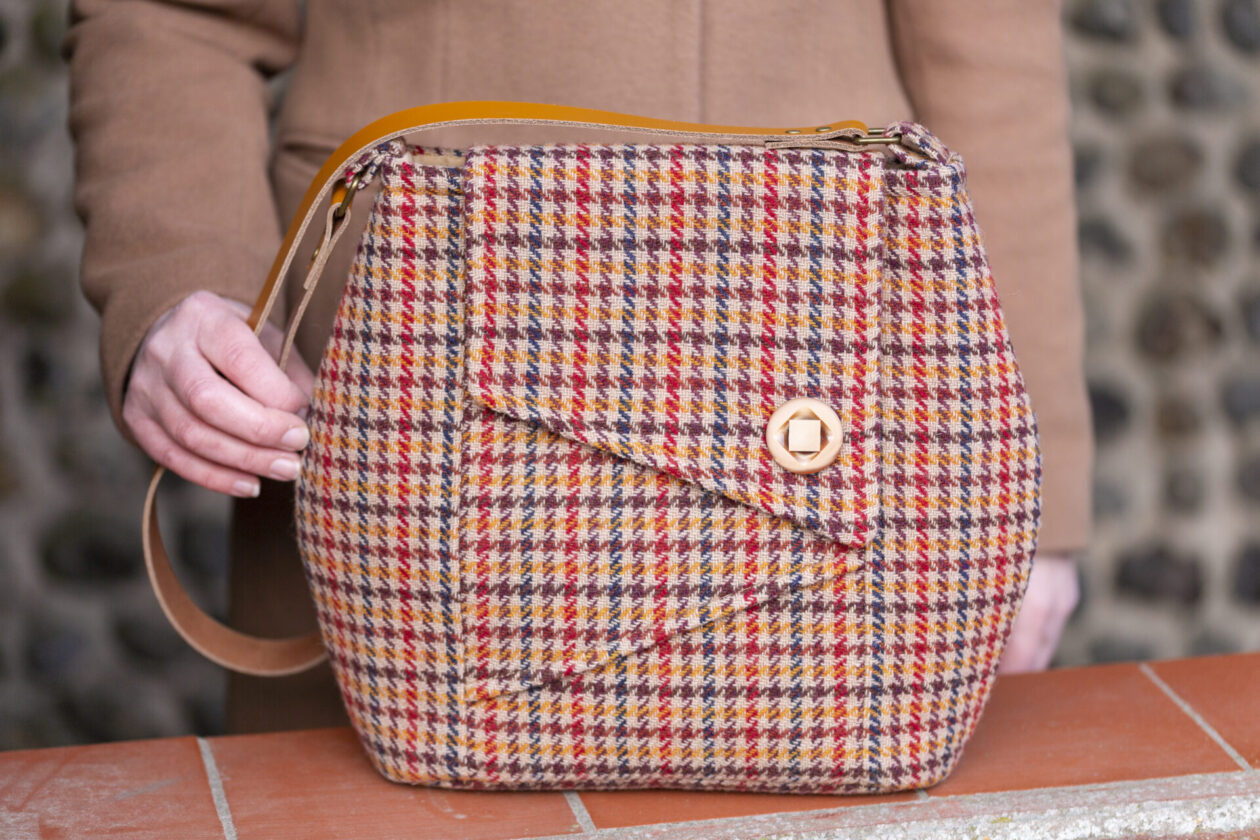
For any of the patterns shown in the pictures above, visit the Charlie’s Aunt Etsy shop.


